Introduction
Getnet's VTEX plugins at this moment are different from country to country and therefore, the objective of this document is to detail the installation process by country.
Argentina
To use the plugin, make sure the following requirements are met:
- Acess to VTEX Platform as an admin
- Getnet credentials (Client ID and Client Secret)
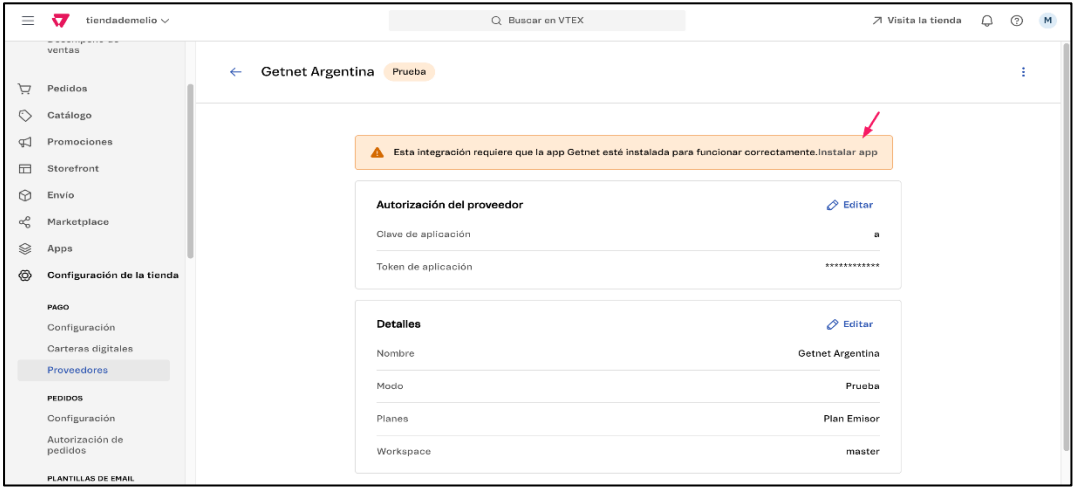
- Provider configuration:
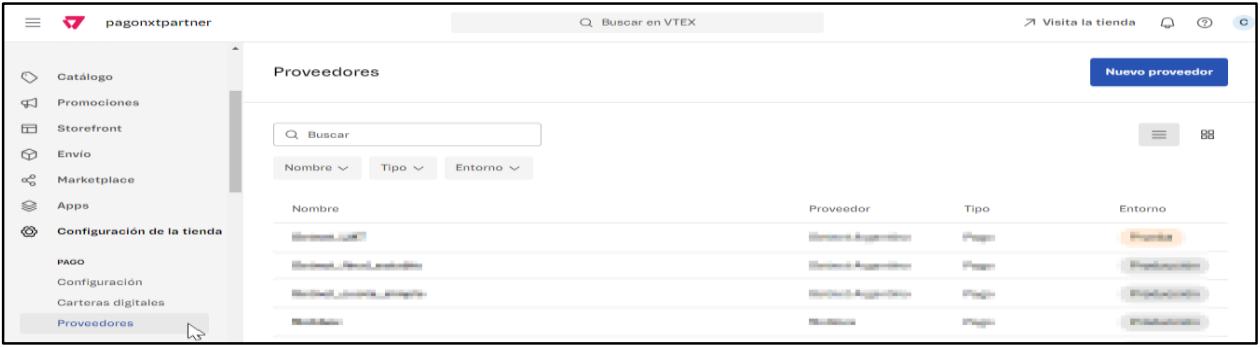
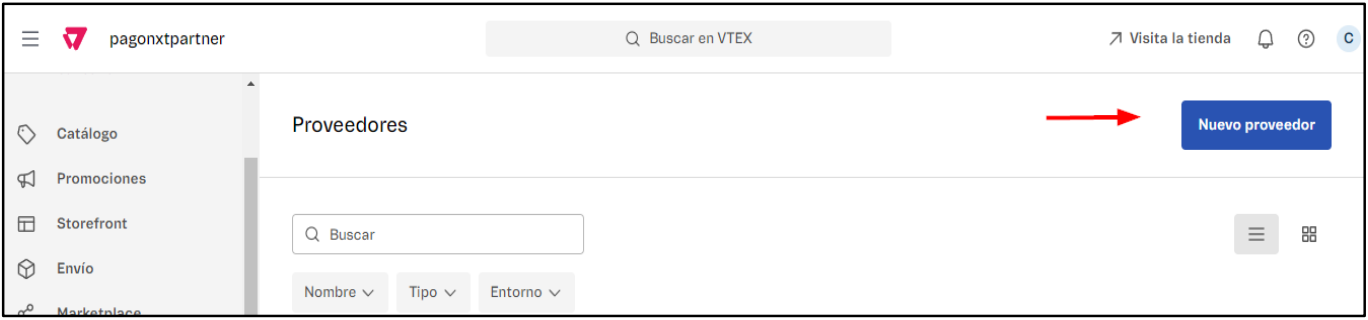
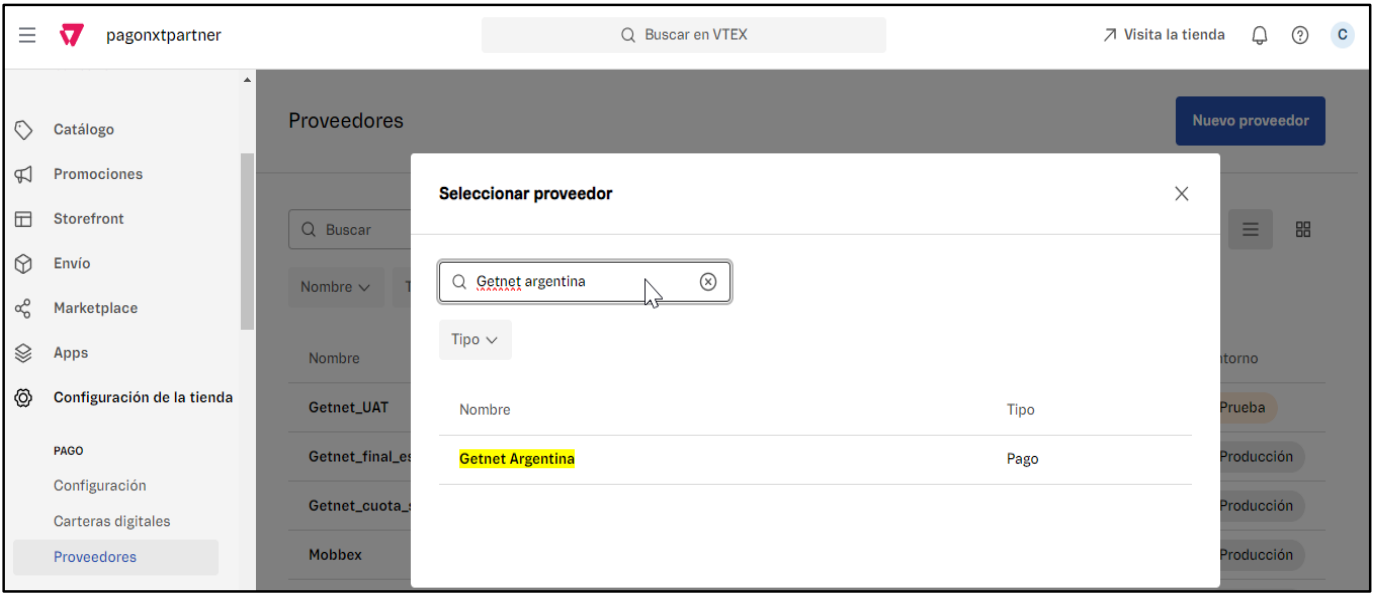
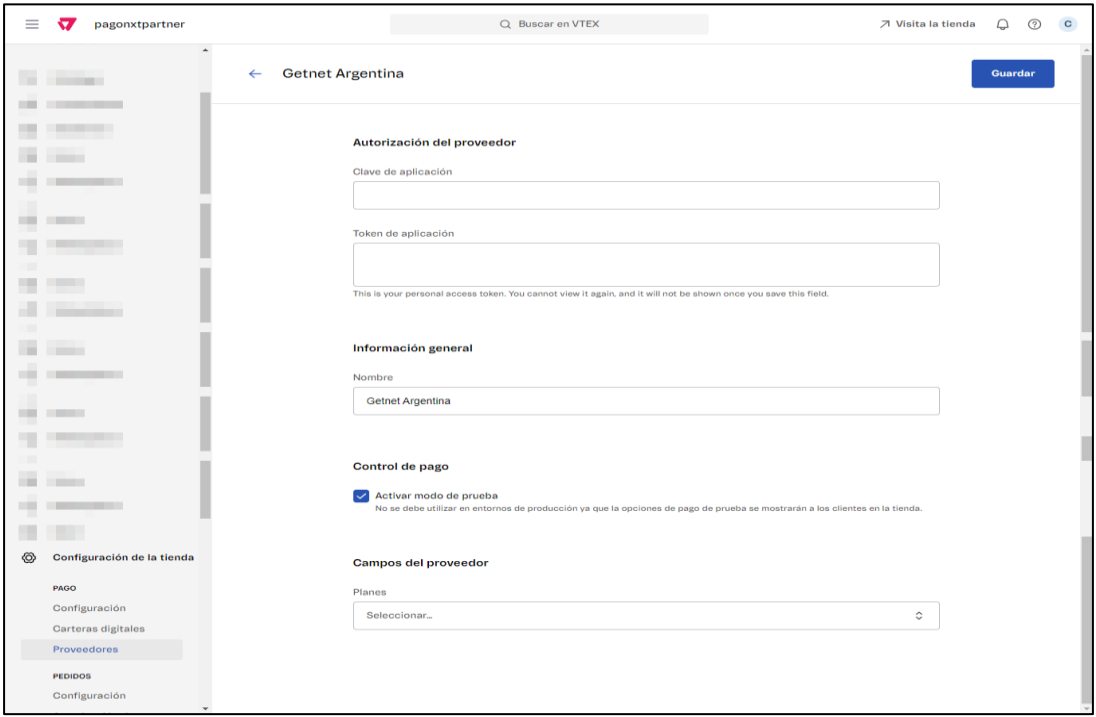
You must complete and fill the following fields:
- Clave de la aplicación -> Client ID
- Token de la aplicación: -> Client Secret
- Nombre:
Note: If you are willing to operate with 2 different installment plans, you must add the provider in a second time and therefore the field "Nombre" will be used to identify the installment plan: "Getnet_Cuota_Simple" o "Getnet_Plan_Emisor".
- Planes->Plan Emisor/Plan Ahora
- Control de pago-> it figures by default with the check "Activar modo de prueba". You must turn it off

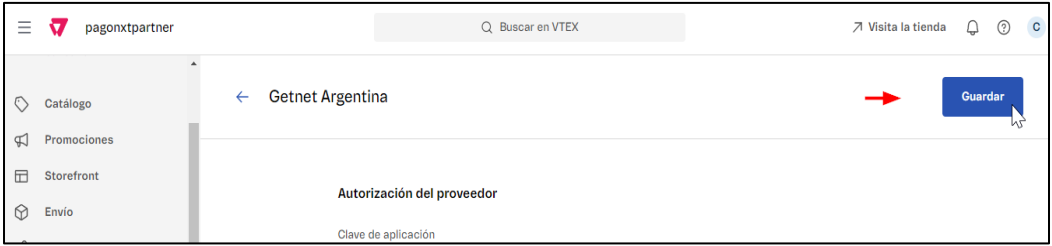
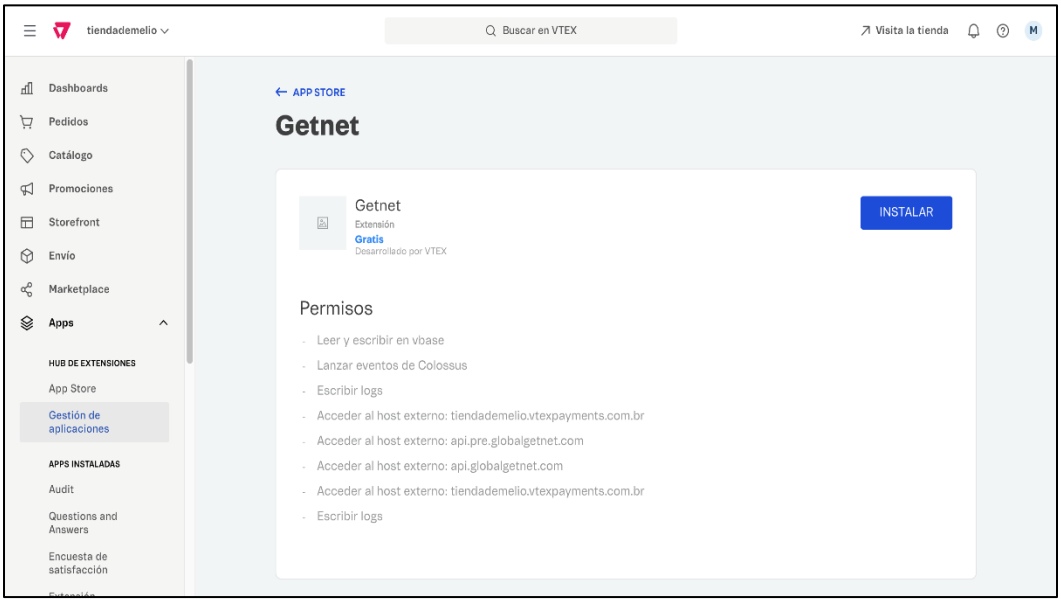
The following screen will be shown:
You will be redirected automatically to the next screen
- Payment methods configuration
Now that you have installed the plugin, you must advance with the payment conditions configuration by selecting "Getnet" as a provider and the plan type.
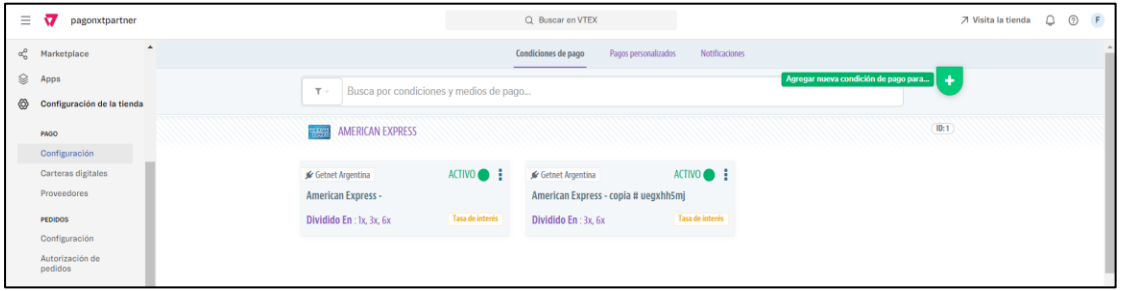
You must now make a click on "+" to add a new payment condition
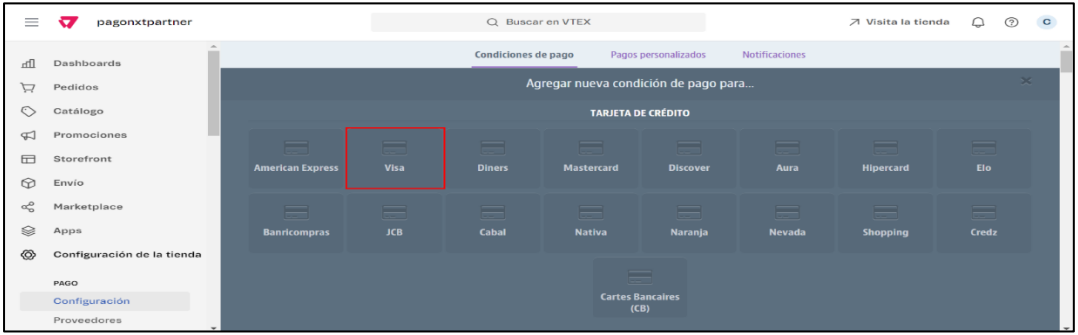
Select the card scheme to configure, ex:"VISA"
The following screen will be shown
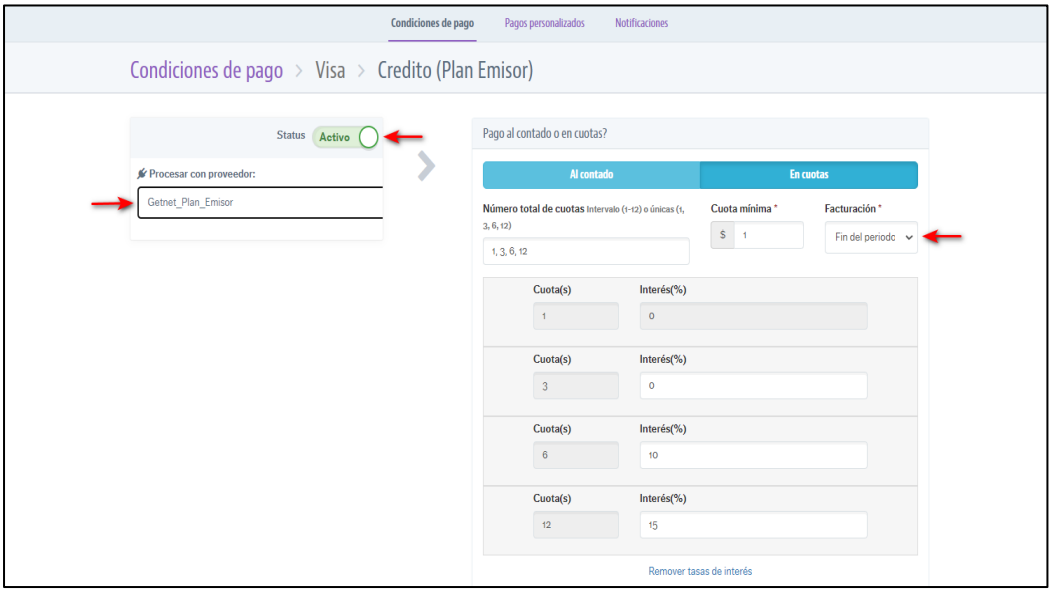
- The "Estatus" must be toggled to "Activo"
- The previously configured connector must be selected and will be shown as completed on the field "Nombre", previously on the step of configuration.
- In the option of "Facturación" , you must select "Fin del periodo"
- The option "Intereses externos" must be toggled as "Inactivo"
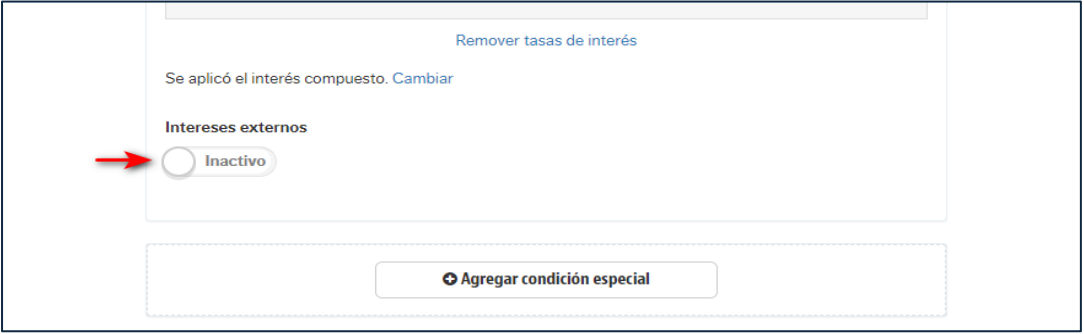
Note: In the cases where external interests must be applied, the same field must be configured manually.
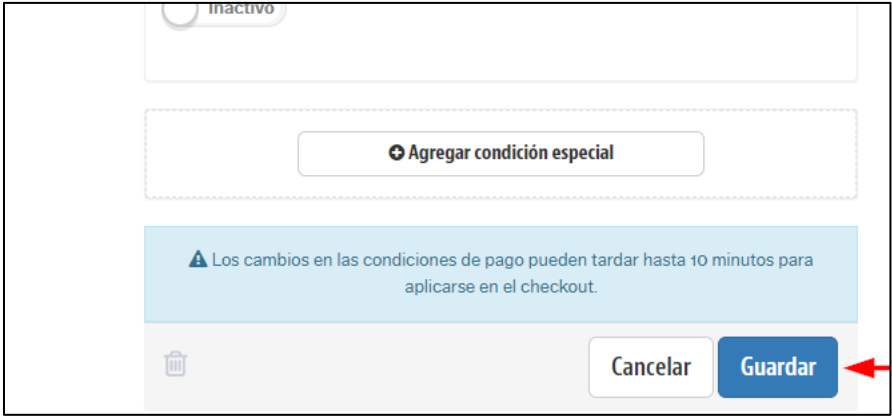
In the home of "Configuration" the configured payment method must be shown for its use.
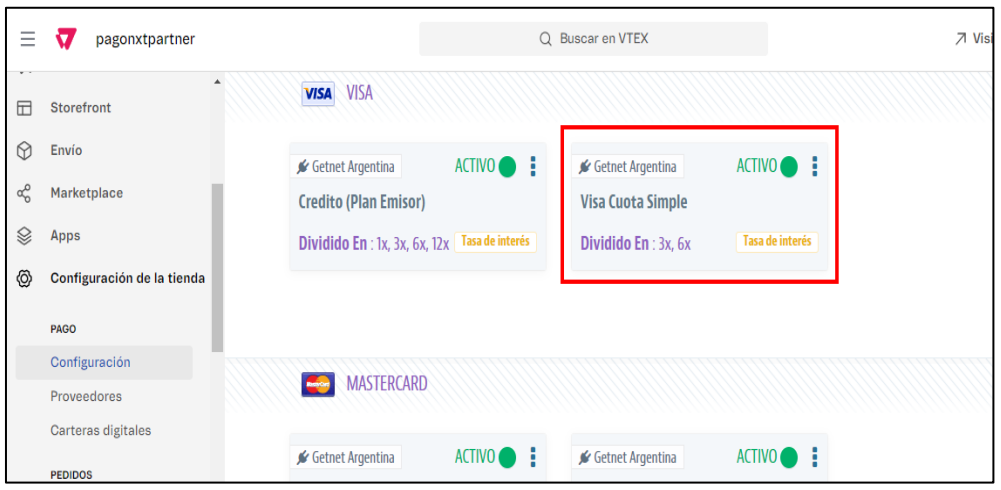
Note: The parameters that are described in the Payment methods configuration section must be applied to each one of the payment methods to be configured.
Brazil
Documentation is in progress at this moment. In the meanwhile, please reach out to your local account manager.
Chile
Documentation is in progress at this moment. In the meanwhile, please reach out to your local account manager.
Mexico
Documentation is in progress at this moment. In the meanwhile, please reach out to your local account manager.
On this page